DIY Pipe Insulation Using Wood Shavings to Prevent Freezing in Barns
Freezing pipes in livestock barns during winter can disrupt water supply, threaten animal health, and lead to costly repairs. With temperatures dropping below 0°F in many regions, unprotected pipes are at risk of bursting, causing water shortages that can exacerbate stress and dehydration in livestock. Studies on farm infrastructure suggest that pipe freezing contributes to 10-15% of winter-related operational losses in barns. Wood shavings, with their excellent insulating properties and affordability, offer a practical DIY solution for pipe insulation, preventing freezing and ensuring reliable water access. This post details how to create effective pipe insulation using wood shavings, supported by a realistic case study, and subtly highlights their synergy with wood pellets for enhanced performance.
The Threat of Freezing Pipes in Barns
In winter, barn pipes—often exposed or poorly insulated—face significant freezing risks. Water in pipes can freeze at 32°F, expanding and potentially causing bursts that disrupt water supply for drinking or cleaning. This can lead to dehydration in livestock, increasing stress and mortality rates by 3-5% in severe cases, according to agricultural infrastructure research. Traditional insulation materials like foam or fiberglass can be expensive and less sustainable, while wood shavings provide a cost-effective, eco-friendly alternative that leverages their natural insulating properties to keep pipes warm and functional.
Why Conventional Insulation Options Fall Short
Many common insulation materials have limitations for barn use:
-
Foam Sleeves: While effective, foam is costly ($1-2 per foot) and non-biodegradable, adding to waste.
-
Fiberglass Wraps: Fiberglass is expensive and requires careful handling to avoid health risks from inhalation or skin contact.
-
Straw: Straw offers poor insulation due to its high thermal conductivity (~0.3 W/m·K) and low absorbency (1.5-2.5 times its weight), allowing moisture to compromise its effectiveness.
-
Tape or Cloth: These provide minimal insulation and degrade quickly in humid barn environments.
These options often fail to balance cost, sustainability, and performance, making wood shavings a superior DIY choice.
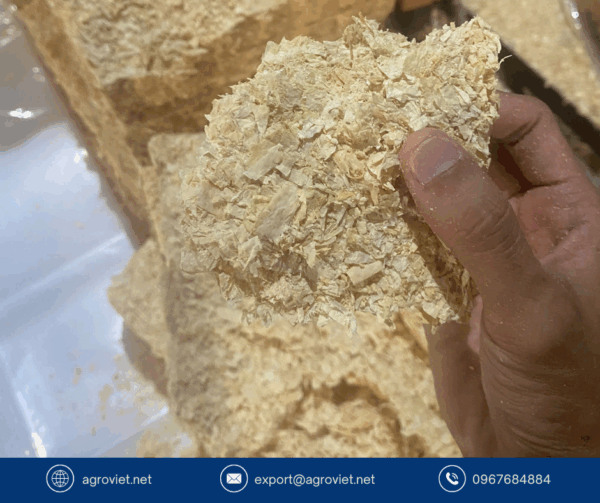
The Science of Wood Shavings Insulation
Wood shavings, particularly from softwoods like pine, are highly effective for pipe insulation due to their physical properties:
-
Low Thermal Conductivity: Dry shavings have a thermal conductivity of ~0.1 W/m·K, compared to straw (~0.3 W/m·K) or concrete (~1.4 W/m·K), slowing heat transfer and keeping pipes above freezing.
-
Air Trapping: Their fluffy, porous structure traps still air (~0.026 W/m·K), creating a thermal barrier that prevents heat loss from pipes.
-
Moisture Management: Shavings absorb 4-6 times their weight in moisture, reducing condensation and preventing water from compromising insulation.
-
Compressibility: Shavings can be packed tightly around pipes, ensuring a snug fit without gaps that allow cold air infiltration.
-
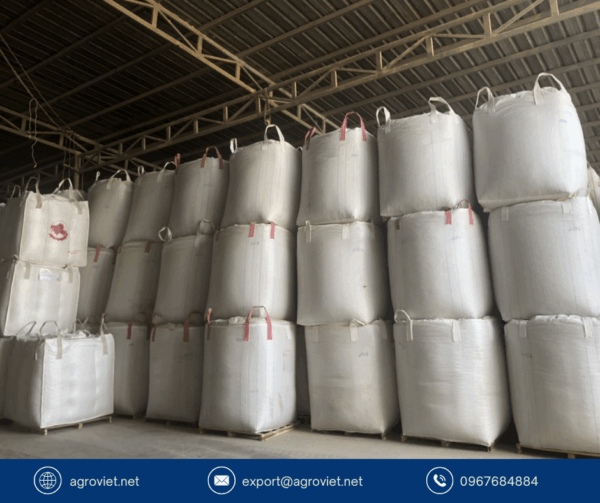
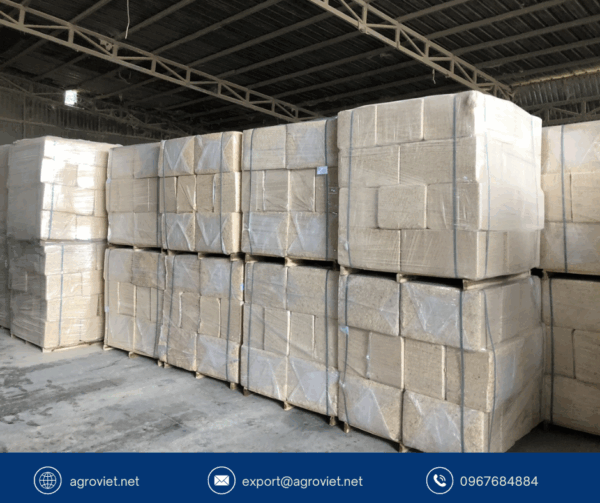
Sustainability: As a sawmill byproduct, shavings are eco-friendly and often locally available, reducing costs.
These properties maintain pipe temperatures 5-10°F above ambient, preventing freezing even in subzero conditions.
DIY Pipe Insulation with Wood Shavings
Creating pipe insulation with wood shavings is simple, cost-effective, and requires minimal materials. Here’s a step-by-step guide:
Materials Needed For DIY
-
Kiln-dried wood shavings (pine or aspen, 10-20 pounds per 10 feet of pipe)
-
Wood pellets (optional, for added density in high-moisture areas)
-
Flexible PVC or corrugated plastic tubing (split lengthwise, sized to fit over pipes)
-
Duct tape or zip ties
-
Mesh bags or burlap sacks (for containing shavings)
-
Scissors or utility knife
-
Measuring tape
Step-by-Step Instructions DIY
-
Measure Pipes: Measure the length and diameter of exposed pipes in the barn (e.g., water lines for troughs). Ensure pipes are clean and dry.
-
Prepare Tubing: Cut flexible PVC or corrugated tubing lengthwise to create a sleeve that fits over the pipe. The tubing should be 1-2 inches larger in diameter than the pipe to allow space for shavings.
-
Pack Shavings: Fill mesh bags or burlap sacks with kiln-dried wood shavings, packing them tightly to maximize insulation. For high-humidity areas, mix in wood pellets (1:3 ratio) to enhance moisture absorption.
-
Wrap Pipes: Place the shavings-filled bags around the pipe, ensuring full coverage. Alternatively, pack shavings directly into the split tubing and secure it around the pipe.
-
Secure Insulation: Use duct tape or zip ties to fasten the tubing or bags tightly, ensuring no gaps. Seal ends to prevent shavings from spilling.
-
Check Coverage: Ensure all exposed pipe sections, especially joints and bends, are fully insulated. Add extra shavings in areas prone to drafts.
-
Monitor and Maintain: Check weekly for moisture or compression, replacing damp shavings to maintain insulation effectiveness.
Cost Estimate
-
Shavings: $2-5 per bale (covers ~20 feet of pipe)
-
Pellets: $5 per 40-pound bag (optional)
-
Tubing: $0.50-1 per foot
-
Total: ~$10-20 for 10 feet of pipe, compared to $20-40 for foam insulation.
This DIY method is 50-75% cheaper than commercial insulation and uses sustainable materials for your DIY.
Benefits of Wood Shavings Insulation DIY
Beyond preventing pipe freezing, wood shavings offer:
-
Cost Savings: Locally sourced shavings reduce expenses compared to foam or fiberglass.
-
Sustainability: Repurposing sawmill byproducts minimizes waste and environmental impact.
-
Ease of Use: Shavings are easy to pack and replace, requiring no specialized tools.
-
Moisture Control: Absorbency prevents condensation, maintaining insulation efficiency.
Pairing shavings with wood pellets in damp areas enhances moisture management, ensuring long-lasting protection.
Case Study: The Willow Bend Farm
Meet Sarah and Tom Ellis, who run Willow Bend Farm, a 50-cow dairy operation in northern Minnesota, where winter temperatures drop to -30°F. In 2022, they used foam sleeves to insulate barn water pipes, but high costs ($200 for 100 feet) and frequent replacements due to cracking strained their budget. That winter, frozen pipes disrupted water supply for three days, stressing their herd and contributing to a 6% mortality rate (3 cows) from dehydration and cold stress. Repairs cost $500, and supplemental heaters added $800 in expenses.
In 2023, the Ellises implemented a DIY wood shavings insulation system, using kiln-dried pine shavings and wood pellets packed into split PVC tubing. The results were transformative:
-
Pipe Protection: No pipes froze, ensuring a consistent water supply even during -25°F cold snaps.
-
Mortality Reduced: Herd mortality dropped to 1% (1 cow), a 5% improvement, due to reliable water access and reduced stress.
-
Cost Savings: Insulation cost $50 for 100 feet of pipe, saving $150 compared to foam, and eliminated repair and heater costs, saving $1,300.
-
Labor Efficiency: Installation took 2 hours, and weekly checks took 15 minutes, compared to frequent foam adjustments.
-
Sustainability: Using local sawmill shavings reduced their environmental footprint.
Tom shared, “The shavings insulation was a lifesaver. Our pipes stayed thawed, the cows had water, and we saved a ton of money. It’s simple and works better than anything we’ve tried.” The Ellises now use Platts Bedding shavings for their quality and low cost.
Practical Tips for DIY Insulation
To maximize wood shavings’ insulation benefits:
-
Deep Packing: Use 1-2 inches of shavings around pipes to ensure a robust thermal barrier.
-
Pellet Integration: Mix wood pellets with shavings in high-humidity areas to boost moisture control.
-
Seal Tightly: Ensure no gaps in tubing or bags to prevent cold air infiltration.
-
Regular Checks: Inspect insulation weekly for dampness or compression, replacing shavings as needed.
-
Protect from Weather: Cover outdoor pipes with waterproof tape or plastic to shield shavings from snow or rain.
-
Monitor Pipes: Check water flow daily to catch any issues early.
Choosing Quality Shavings
Select kiln-dried shavings from safe softwoods like pine or aspen, ensuring low dust and high absorbency (moisture content below 12%). Avoid treated or coarse shavings that could degrade or reduce insulation. Premium shavings, like those from Platts Bedding, are processed for consistency and optimal thermal performance, ensuring reliable pipe protection in freezing temperatures.
A Cost-Effective Winter Solution
Wood shavings offer a DIY, sustainable solution for insulating barn pipes, preventing freezing and reducing livestock stress and mortality, as seen at Willow Bend Farm. Their low thermal conductivity, high absorbency, and affordability make them ideal for maintaining water access in harsh winters. By combining shavings with wood pellets, you can enhance moisture control and insulation. Implement this DIY pipe insulation this winter to protect your barn’s water supply and keep your livestock thriving.